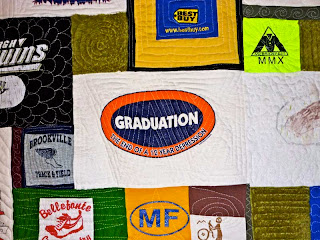
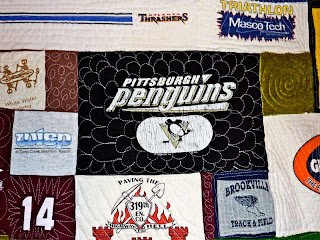
Now is the fun part! The actual quilting.
I highly suggest quilting your t-shirt quilt using the free arm quilting technique. You don't need an expensive long-arm quilting machine, most newer sewing machines have free arm quilting settings.
I use a Brother SE-400 with my embroidery foot (Q) and stitch 3 (default setting) and (the most important part) the feed dogs lowered.
If your machine doesn't have free arm capabilities, you can just quilt it using straight lines. But, you might want to invest in a walking foot, because the jersey is very slippy material.
I'd also suggest investing in some quilting gloves. When I first saw these, I assumed they were for keeping the material clean from the dirt/oil on your hands. But, I discovered that these gloves are designed with grips, because it makes it easier for effortlessly moving the quilt around while you are sewing. I think this were $4.99 at Joanne's. Not a big investment, but made a huge difference in my grip.
You'll want a large working surface. You don't want the bulk of the quilt hanging off the table, weighing it down and making it harder to move.
And it makes the back just as pretty as the front....
If you need some inspiration for patterns to make, check out this site. They show lots of computerized quilting patterns (which I can't use), but they are great for inspiration if I find myself getting stuck repeating the same designs.
All quilted together....
Almost finished folks!!
Next (last) step: Binding


No comments:
Post a Comment