I love fall! It is my absolute favorite season!
I love the light jacket weather, the falling leaves, the cool nights, wearing scarfs, drinking hot chocolate, going to football games (don't even like football, I just like going to the games)...and I LOVE Halloween!
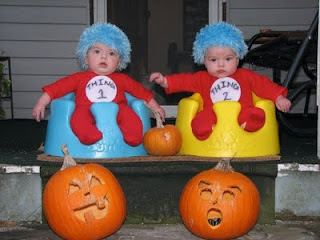
Halloween is still 75 days away, but my mind is already racing with ideas for Thing 1 and Thing 2's costumes!
(An aside: My sewing machine is currently in the shop. Quelle dommage! But, it should be ready sometimes in September, so I should (knock on wood!) still have plenty of time!)
Before I think about the coming costume, I would like to review their costumes of past:
Before I think about the coming costume, I would like to review their costumes of past:
2007: Thing 1 and Thing 2
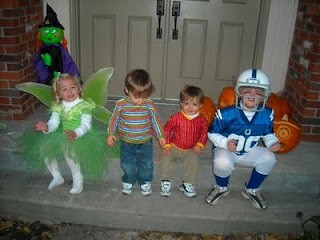
2008: Bert & Ernie
(This is definitely my least favorite costume, but they were 1.5 and really wouldn't have worn a wig, a hat, makeup etc...so we went very simple)
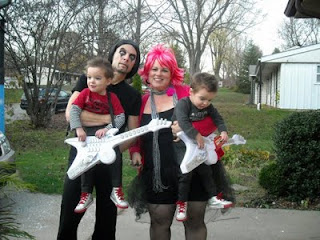
2009: Rock stars!
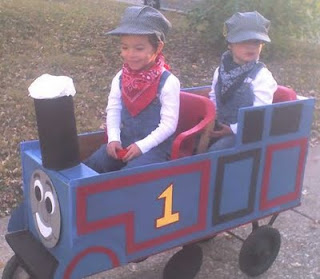
2010: Thomas the Tank Engineers
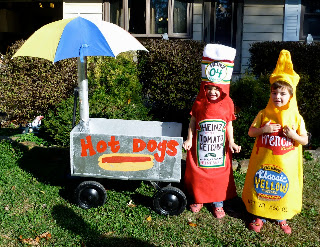
2011: Ketchup and mustard
So what do you think they'll choose to be this year?
They love playing Angry Birds on my phone...so maybe:

We could even get our new puppy into the fun...

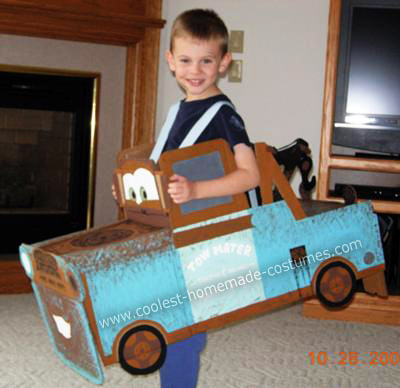
They love Cars 2...so maybe:

Or
They loved watching the Olympics, so maybe...
 Or on second thought, maybe I could get Superman to do this one! ;)
Whatever we choose, I feel like nothing can beat the ketchup and mustard. We got sooooo many people staring and complementing us on that one. It was so simple, yet original, and everyone loved it! (Props to Thing 1 and Thing 2, because they came up with the idea all on their own!)
Hmmm...about 60 days left to decide!
Update:
The boys decided they wanted to be dogs. Thing 2 wanted to be a "red dog" and Thing 1 wanted to be a "rainbow dog." Not my favorite costumes ever, but the boys loved them!


2008: Bert & Ernie
(This is definitely my least favorite costume, but they were 1.5 and really wouldn't have worn a wig, a hat, makeup etc...so we went very simple)

2009: Rock stars!

2010: Thomas the Tank Engineers

2011: Ketchup and mustard

So what do you think they'll choose to be this year?
They love playing Angry Birds on my phone...so maybe:
We could even get our new puppy into the fun...
They love Cars 2...so maybe:
Or
They loved watching the Olympics, so maybe...
Whatever we choose, I feel like nothing can beat the ketchup and mustard. We got sooooo many people staring and complementing us on that one. It was so simple, yet original, and everyone loved it! (Props to Thing 1 and Thing 2, because they came up with the idea all on their own!)
Hmmm...about 60 days left to decide!
Update:
The boys decided they wanted to be dogs. Thing 2 wanted to be a "red dog" and Thing 1 wanted to be a "rainbow dog." Not my favorite costumes ever, but the boys loved them!